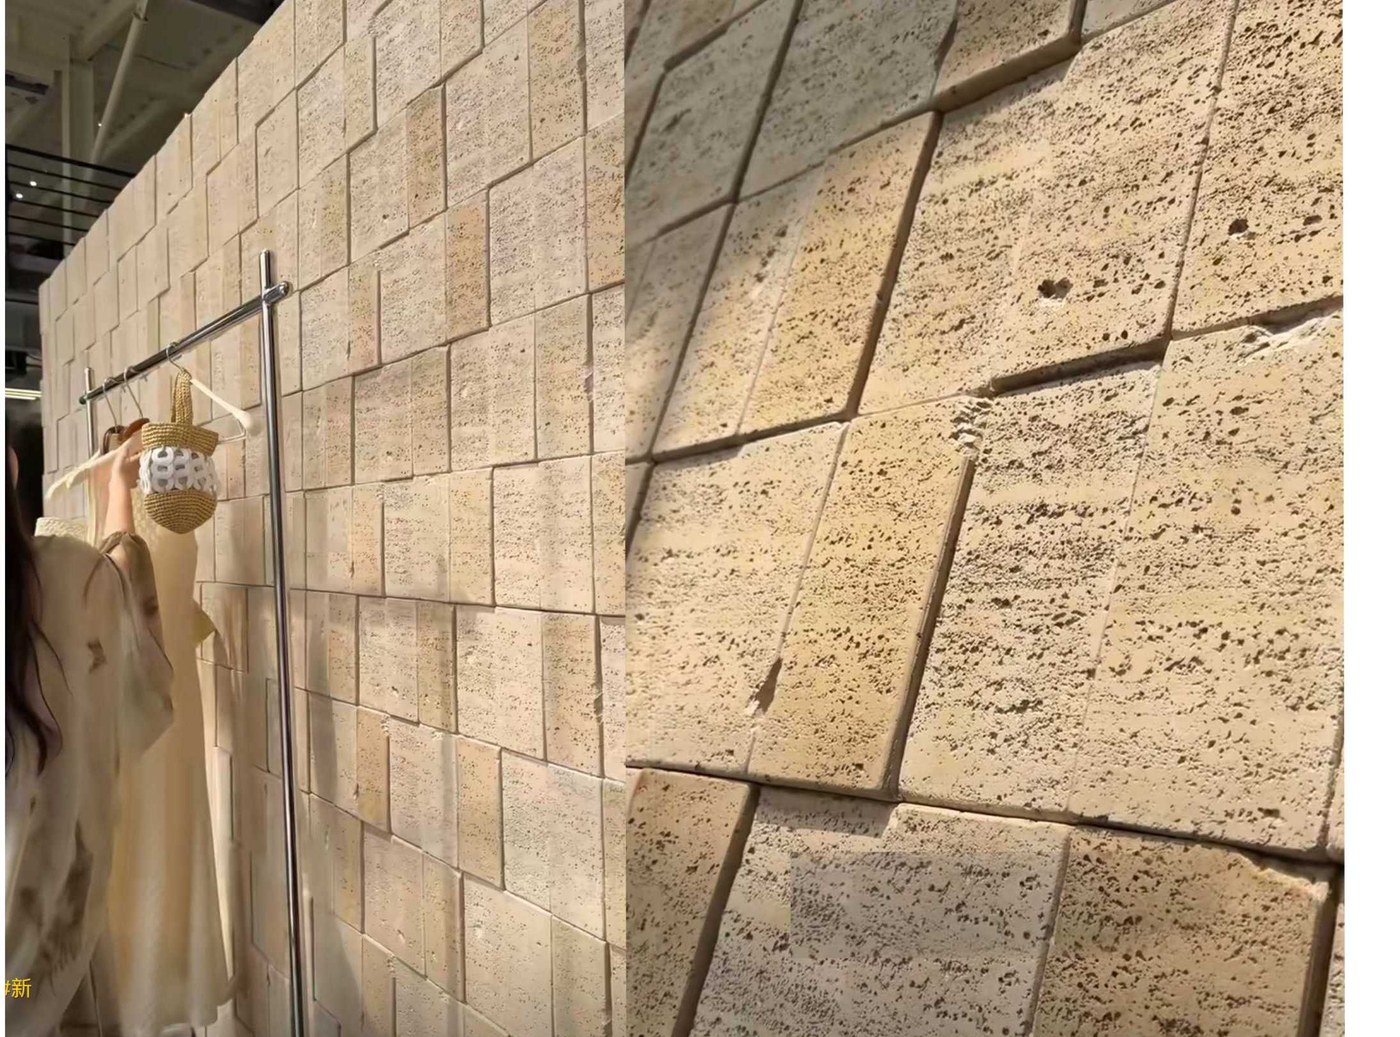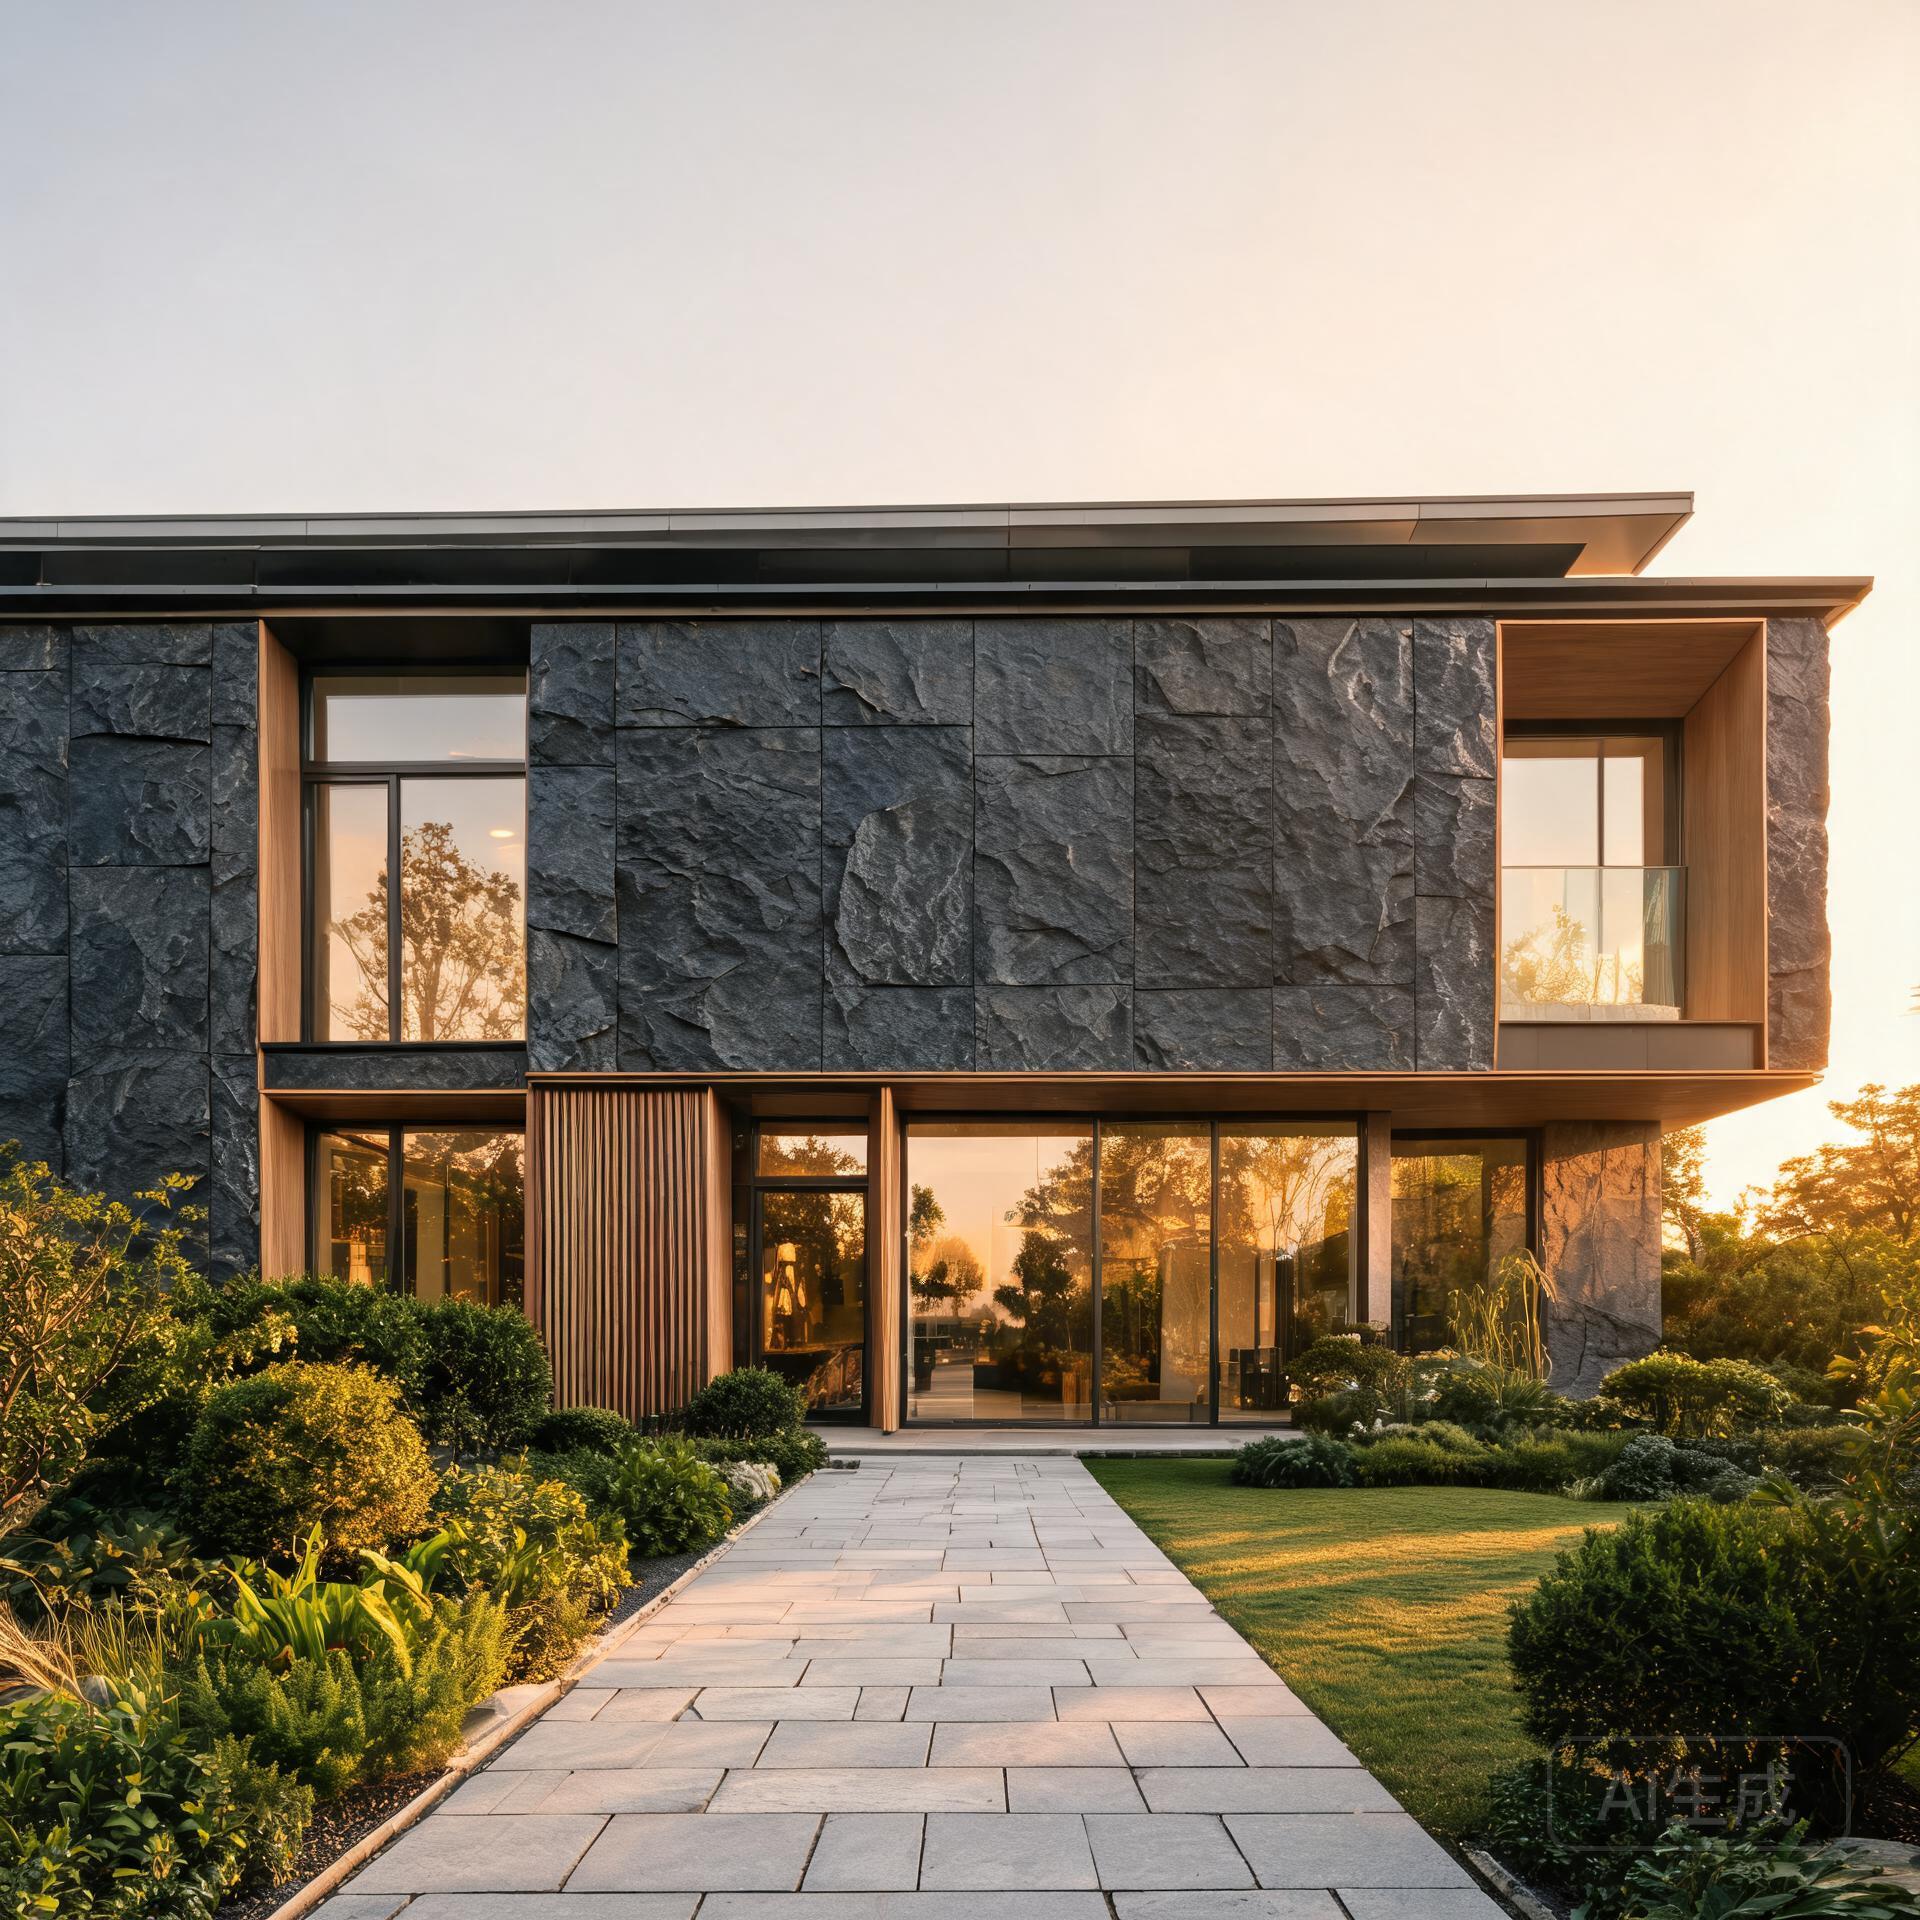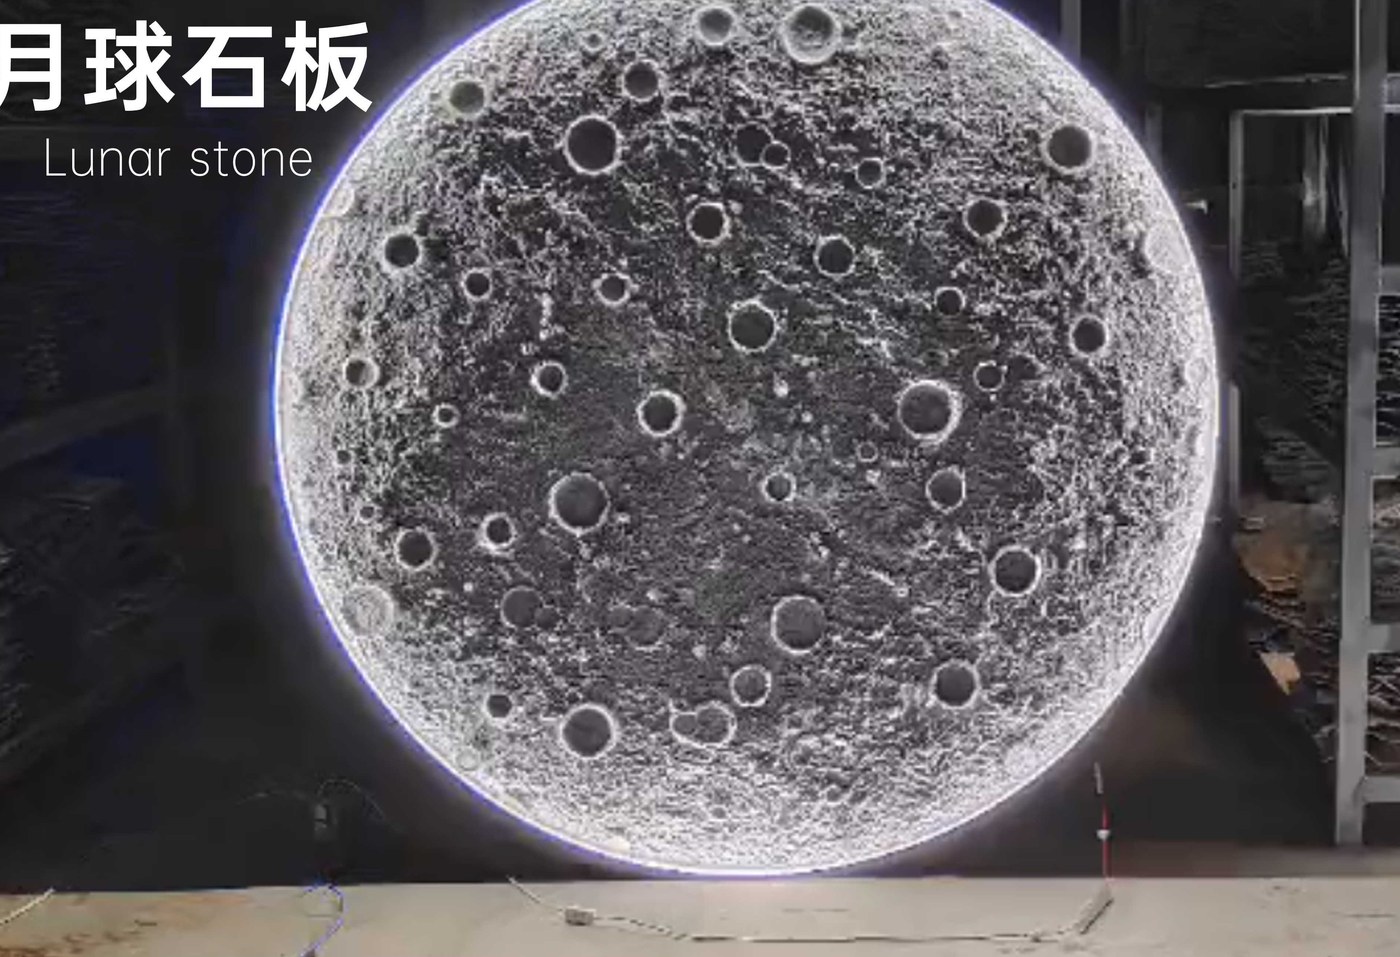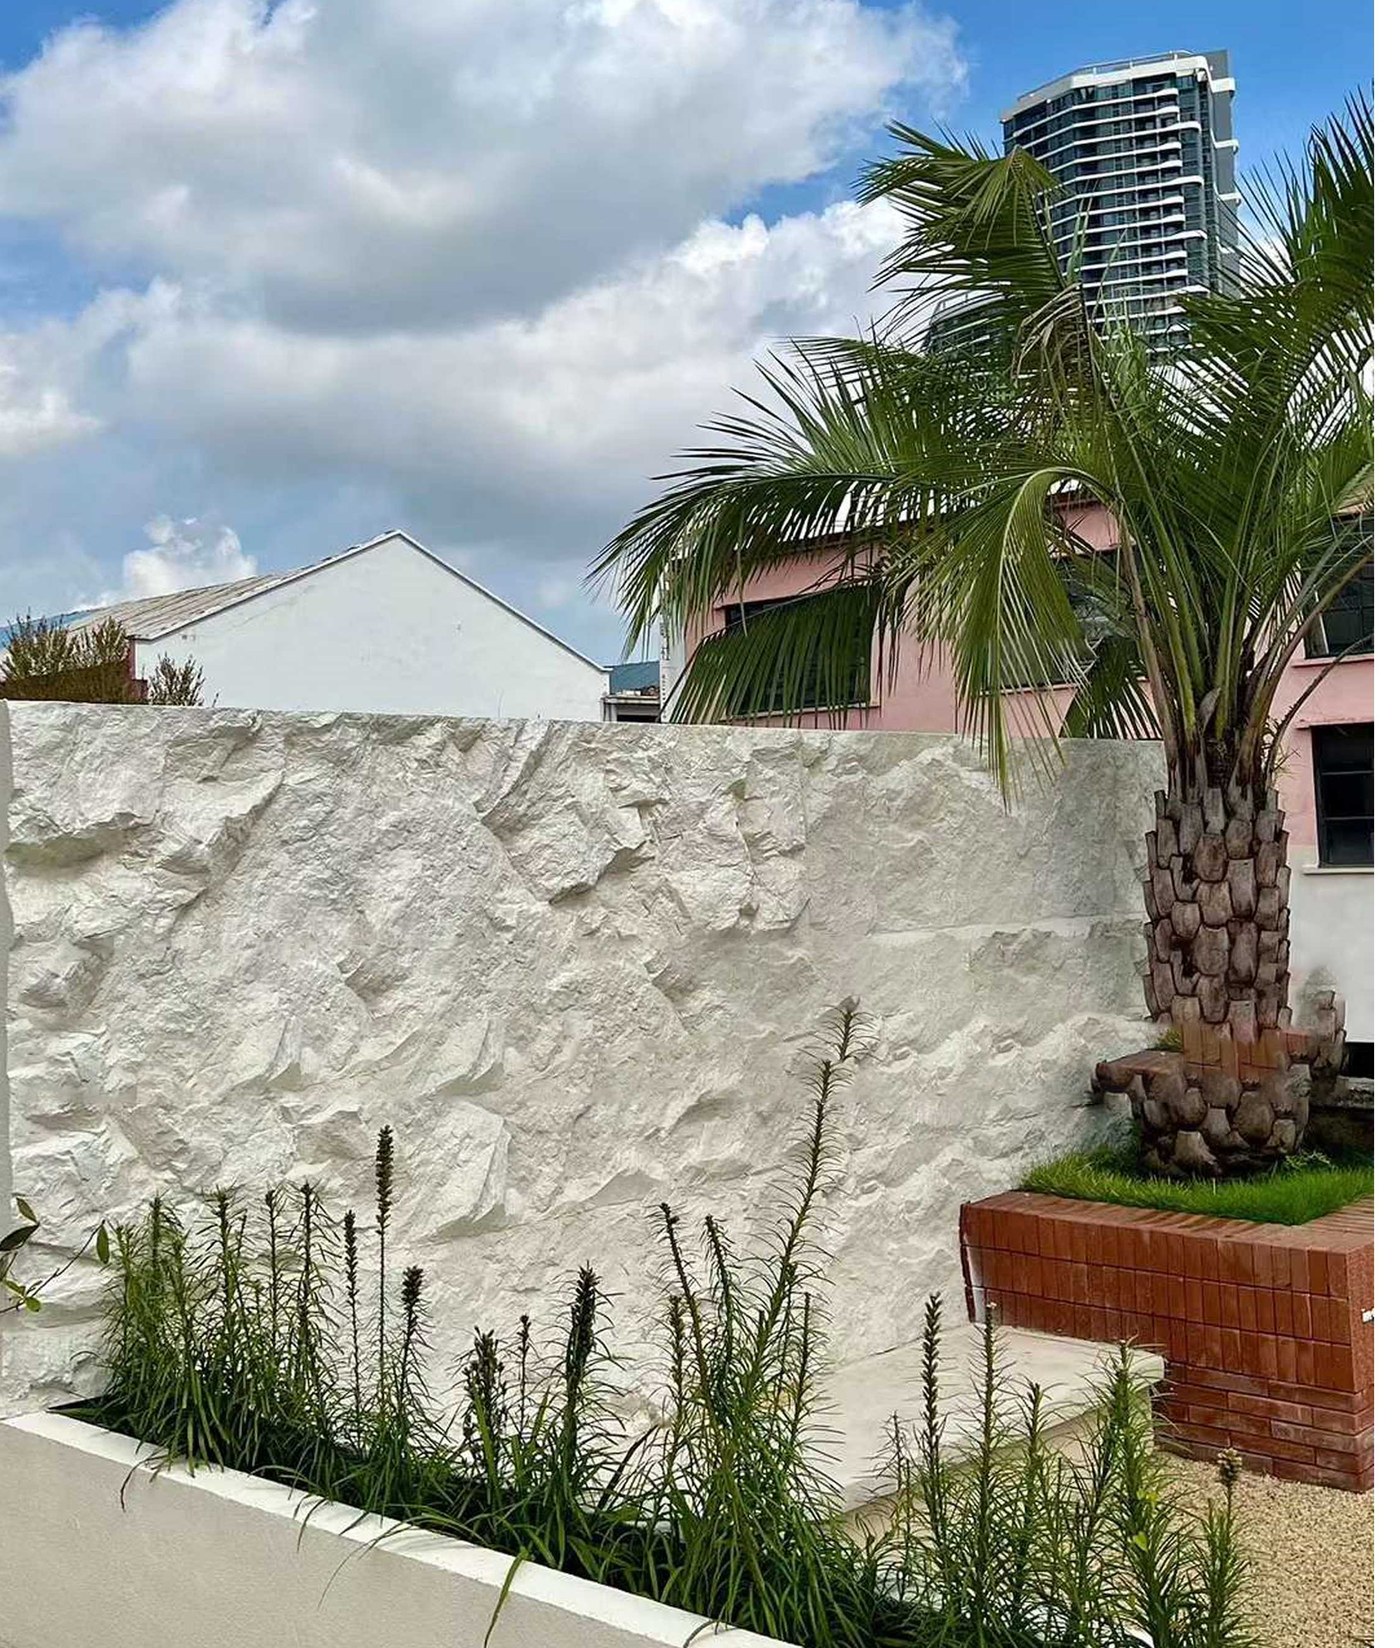
PU stone is a lightweight polyurethane wall panel that reproduces the look of natural stone, brick and wood. A typical panel measures 1200×600 mm and weighs only a few kilograms, so a single installer can handle it without structural reinforcement. PU stone panels are installed with adhesive or mechanical fixing, cut with standard woodworking tools, and are waterproof, fire-retardant and moisture-proof. This guide walks through the complete installation from measuring to sealing.
Key Facts
- ◆PU stone panels are about 80% lighter than natural stone, so no structural reinforcement is needed.
- ◆Install with panel adhesive or mechanical fixing on a clean, dry, level substrate.
- ◆Cut PU stone with standard woodworking tools such as a utility knife, jigsaw or circular saw.
- ◆A typical PU stone panel is 1200×600 mm and can be handled by a single installer.
Tools and Materials You Need
- PU stone panels and matching corner pieces
- Panel adhesive (construction adhesive or PU-specific adhesive)
- Utility knife, jigsaw or circular saw for cutting
- Straightedge, level, tape measure and pencil
- Caulk gun and flexible sealant for joints
- Sanding block or fine file for smoothing cut edges
- Clean cloth and painter tape
Step 1: Prepare the Substrate
The wall must be clean, dry, flat and sound. Remove dust, grease and loose paint, and repair any cracks or uneven areas. On smooth glossy surfaces such as glass or metal, apply a bonding primer so the adhesive grips properly. PU stone is lightweight, so it bonds directly to drywall, plaster, concrete, wood and tile without extra framing.
Step 2: Plan the Layout
Measure the wall and lay out the panels before applying adhesive. Mark reference lines with a level so the first row is straight, and plan the joints so they fall in consistent positions. For a feature wall, center the pattern and plan the cut pieces for the edges and corners. Dry-fit the panels first to confirm the layout before committing with adhesive.
Step 3: Cut the Panels
Cut PU stone with standard woodworking tools. For straight cuts, score the surface with a utility knife and snap, or use a jigsaw or circular saw with a fine-tooth blade. Cut slightly undersized and trim to fit for a clean, precise result. Smooth any rough edges with a sanding block or fine file before installation.
Step 4: Apply the Adhesive
Apply panel adhesive to the back of the panel in a zigzag or grid pattern, or apply it directly to the wall in the panel footprint. For large panels, use full-surface coverage with a notched trowel to prevent hollow spots. PU stone is lightweight, so a strong adhesive bond holds the panel securely without mechanical fixings in most interior applications.
Step 5: Press and Level Each Panel
Press each panel onto the wall with even pressure across the full surface. Use a level to check that the panel is plumb and aligned with the reference lines. For exterior or high-traffic areas, add mechanical fixing with screws and washers through the panel joints for extra security. Wipe off any adhesive that squeezes out before it cures.
Step 6: Seal the Joints
After the adhesive cures, fill the joints with a flexible sealant matched to the panel color. Tool the sealant smooth and remove painter tape before it cures. In wet areas such as bathrooms and kitchens, seal every edge and corner with a waterproof sealant to keep moisture out of the joints.
How Long Does Installation Take?
Because PU stone is lightweight and easy to cut, installation is fast. A 1200×600 mm panel covers 0.72 m², and a two-person crew can typically clad a feature wall in a day. Compared with natural stone, which requires mortar, skilled masonry labor and structural support, PU stone installation is a straightforward adhesive job that most contractors and confident DIYers can complete.
Browse PU Stone Wall Panels
Explore 7 PU stone series with 119 products and 940+ colorways at NexaDBS.
View PU Stone Collection