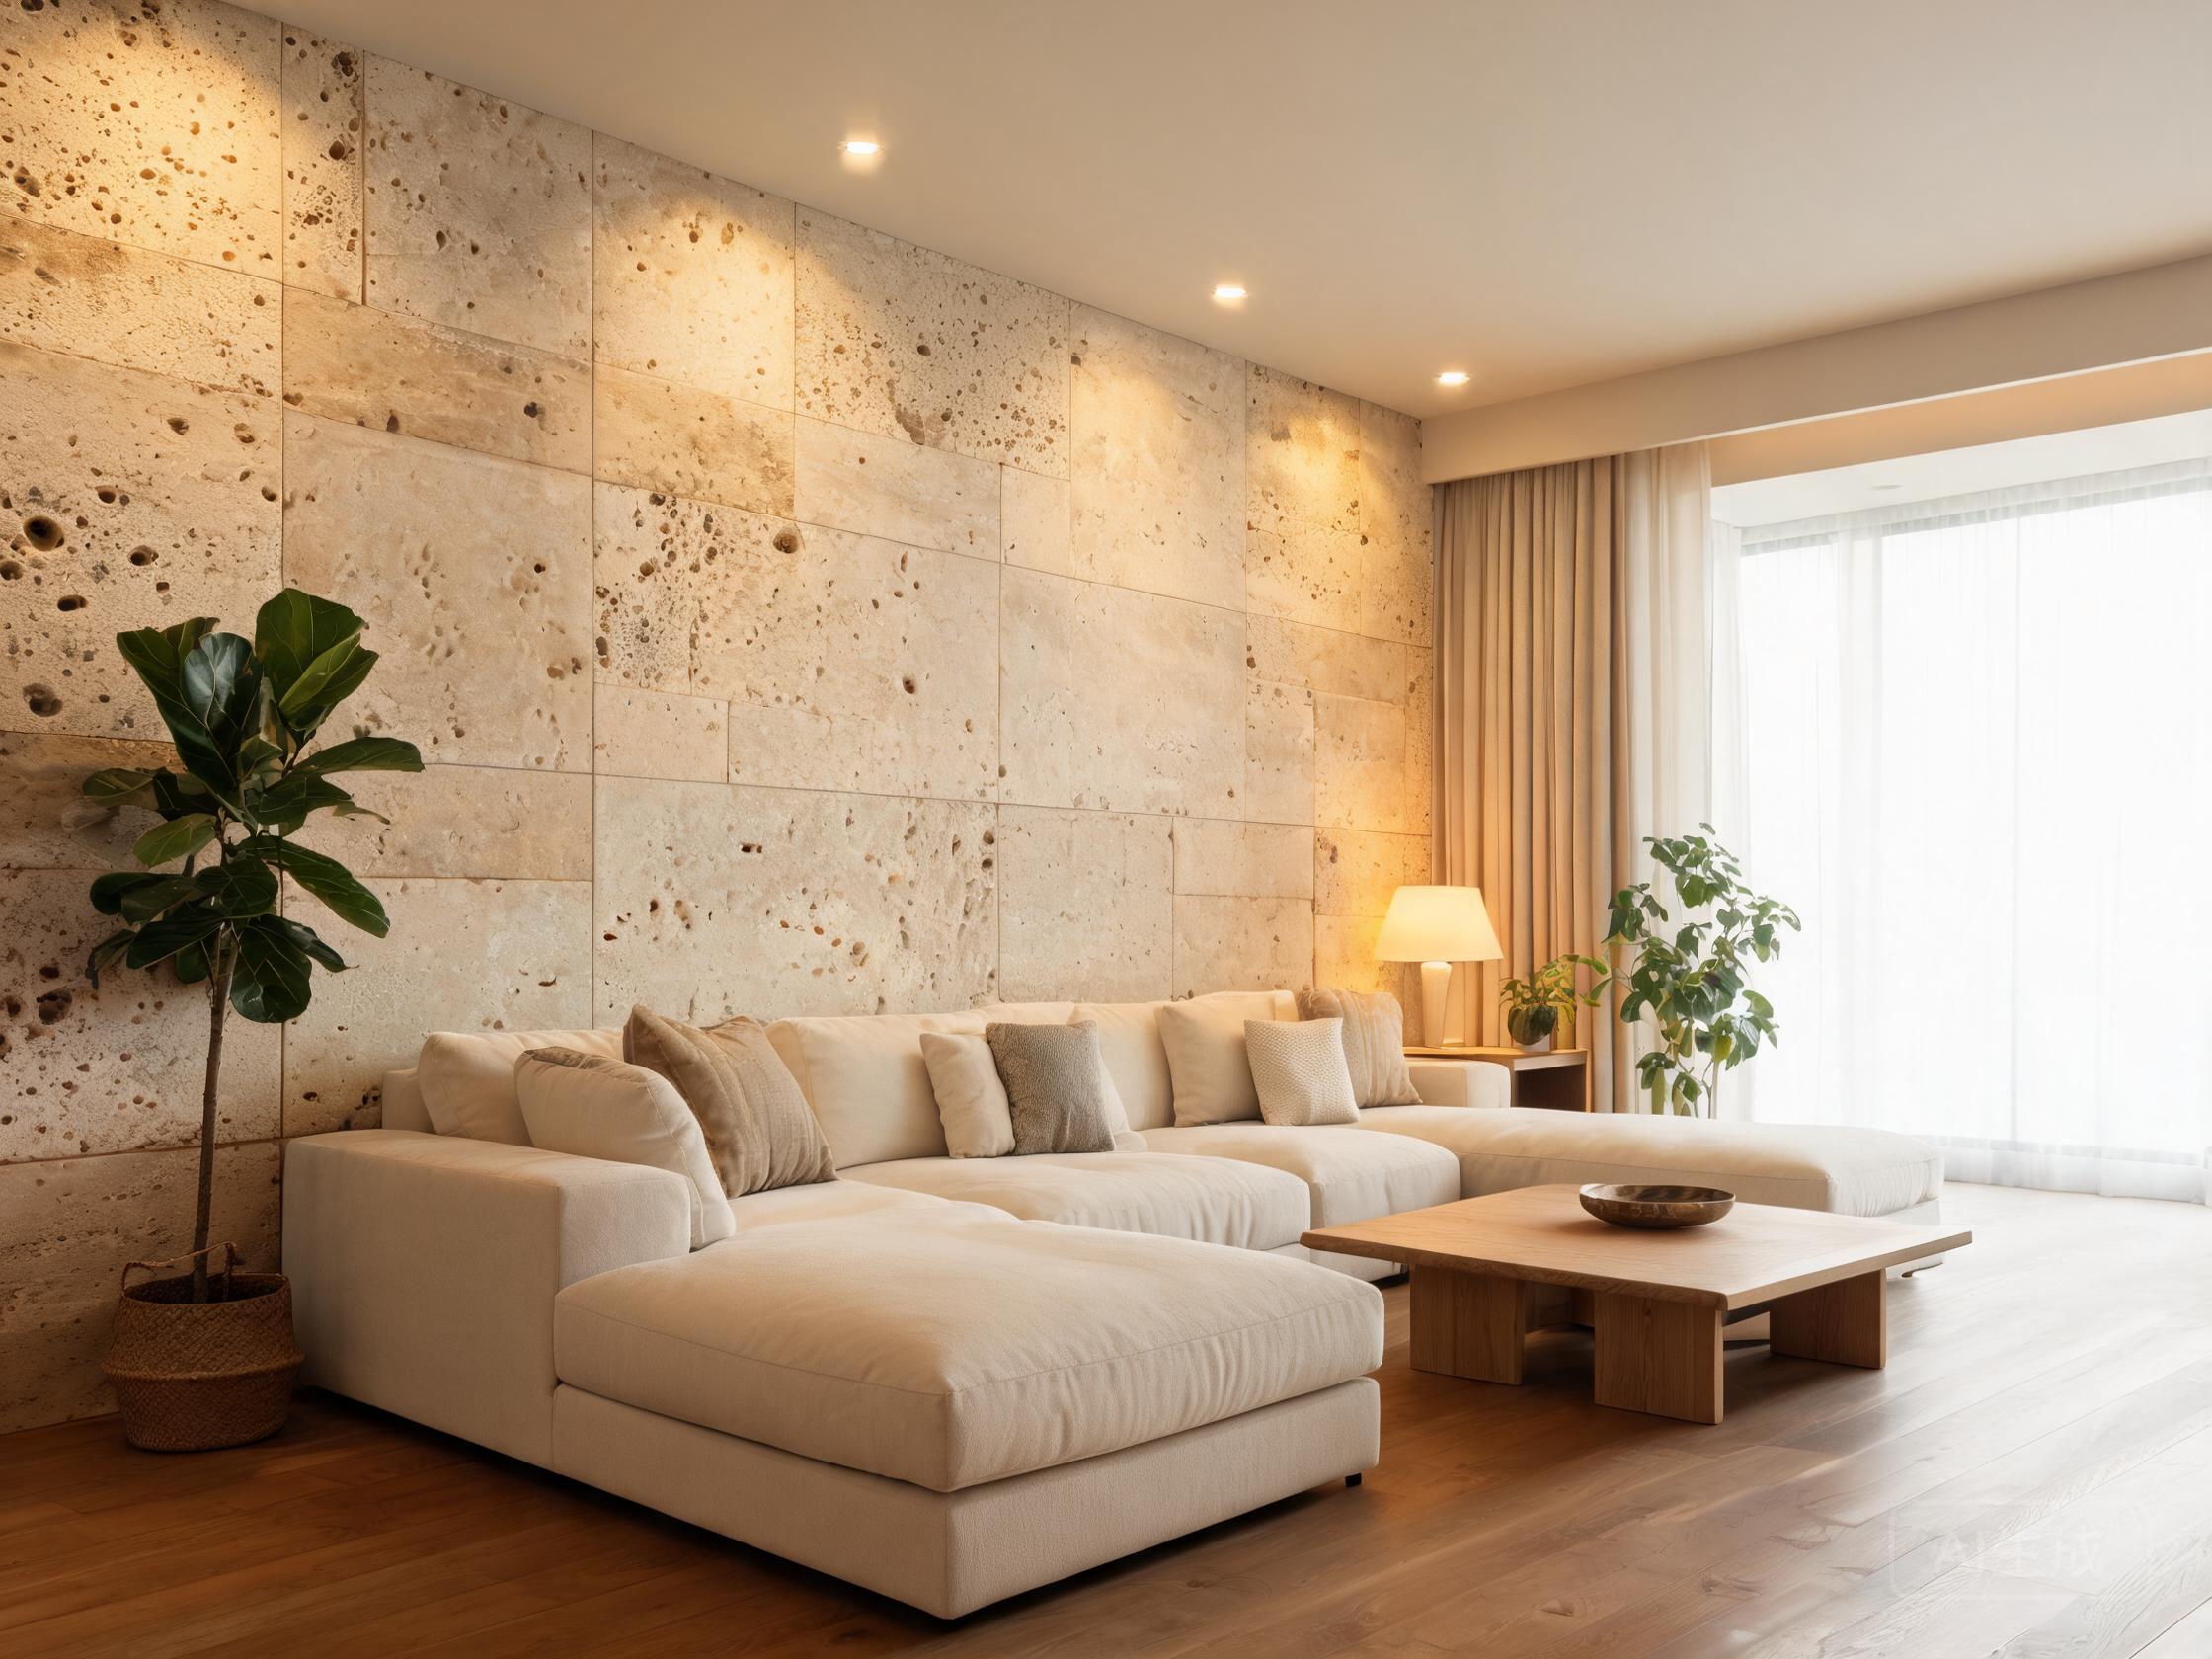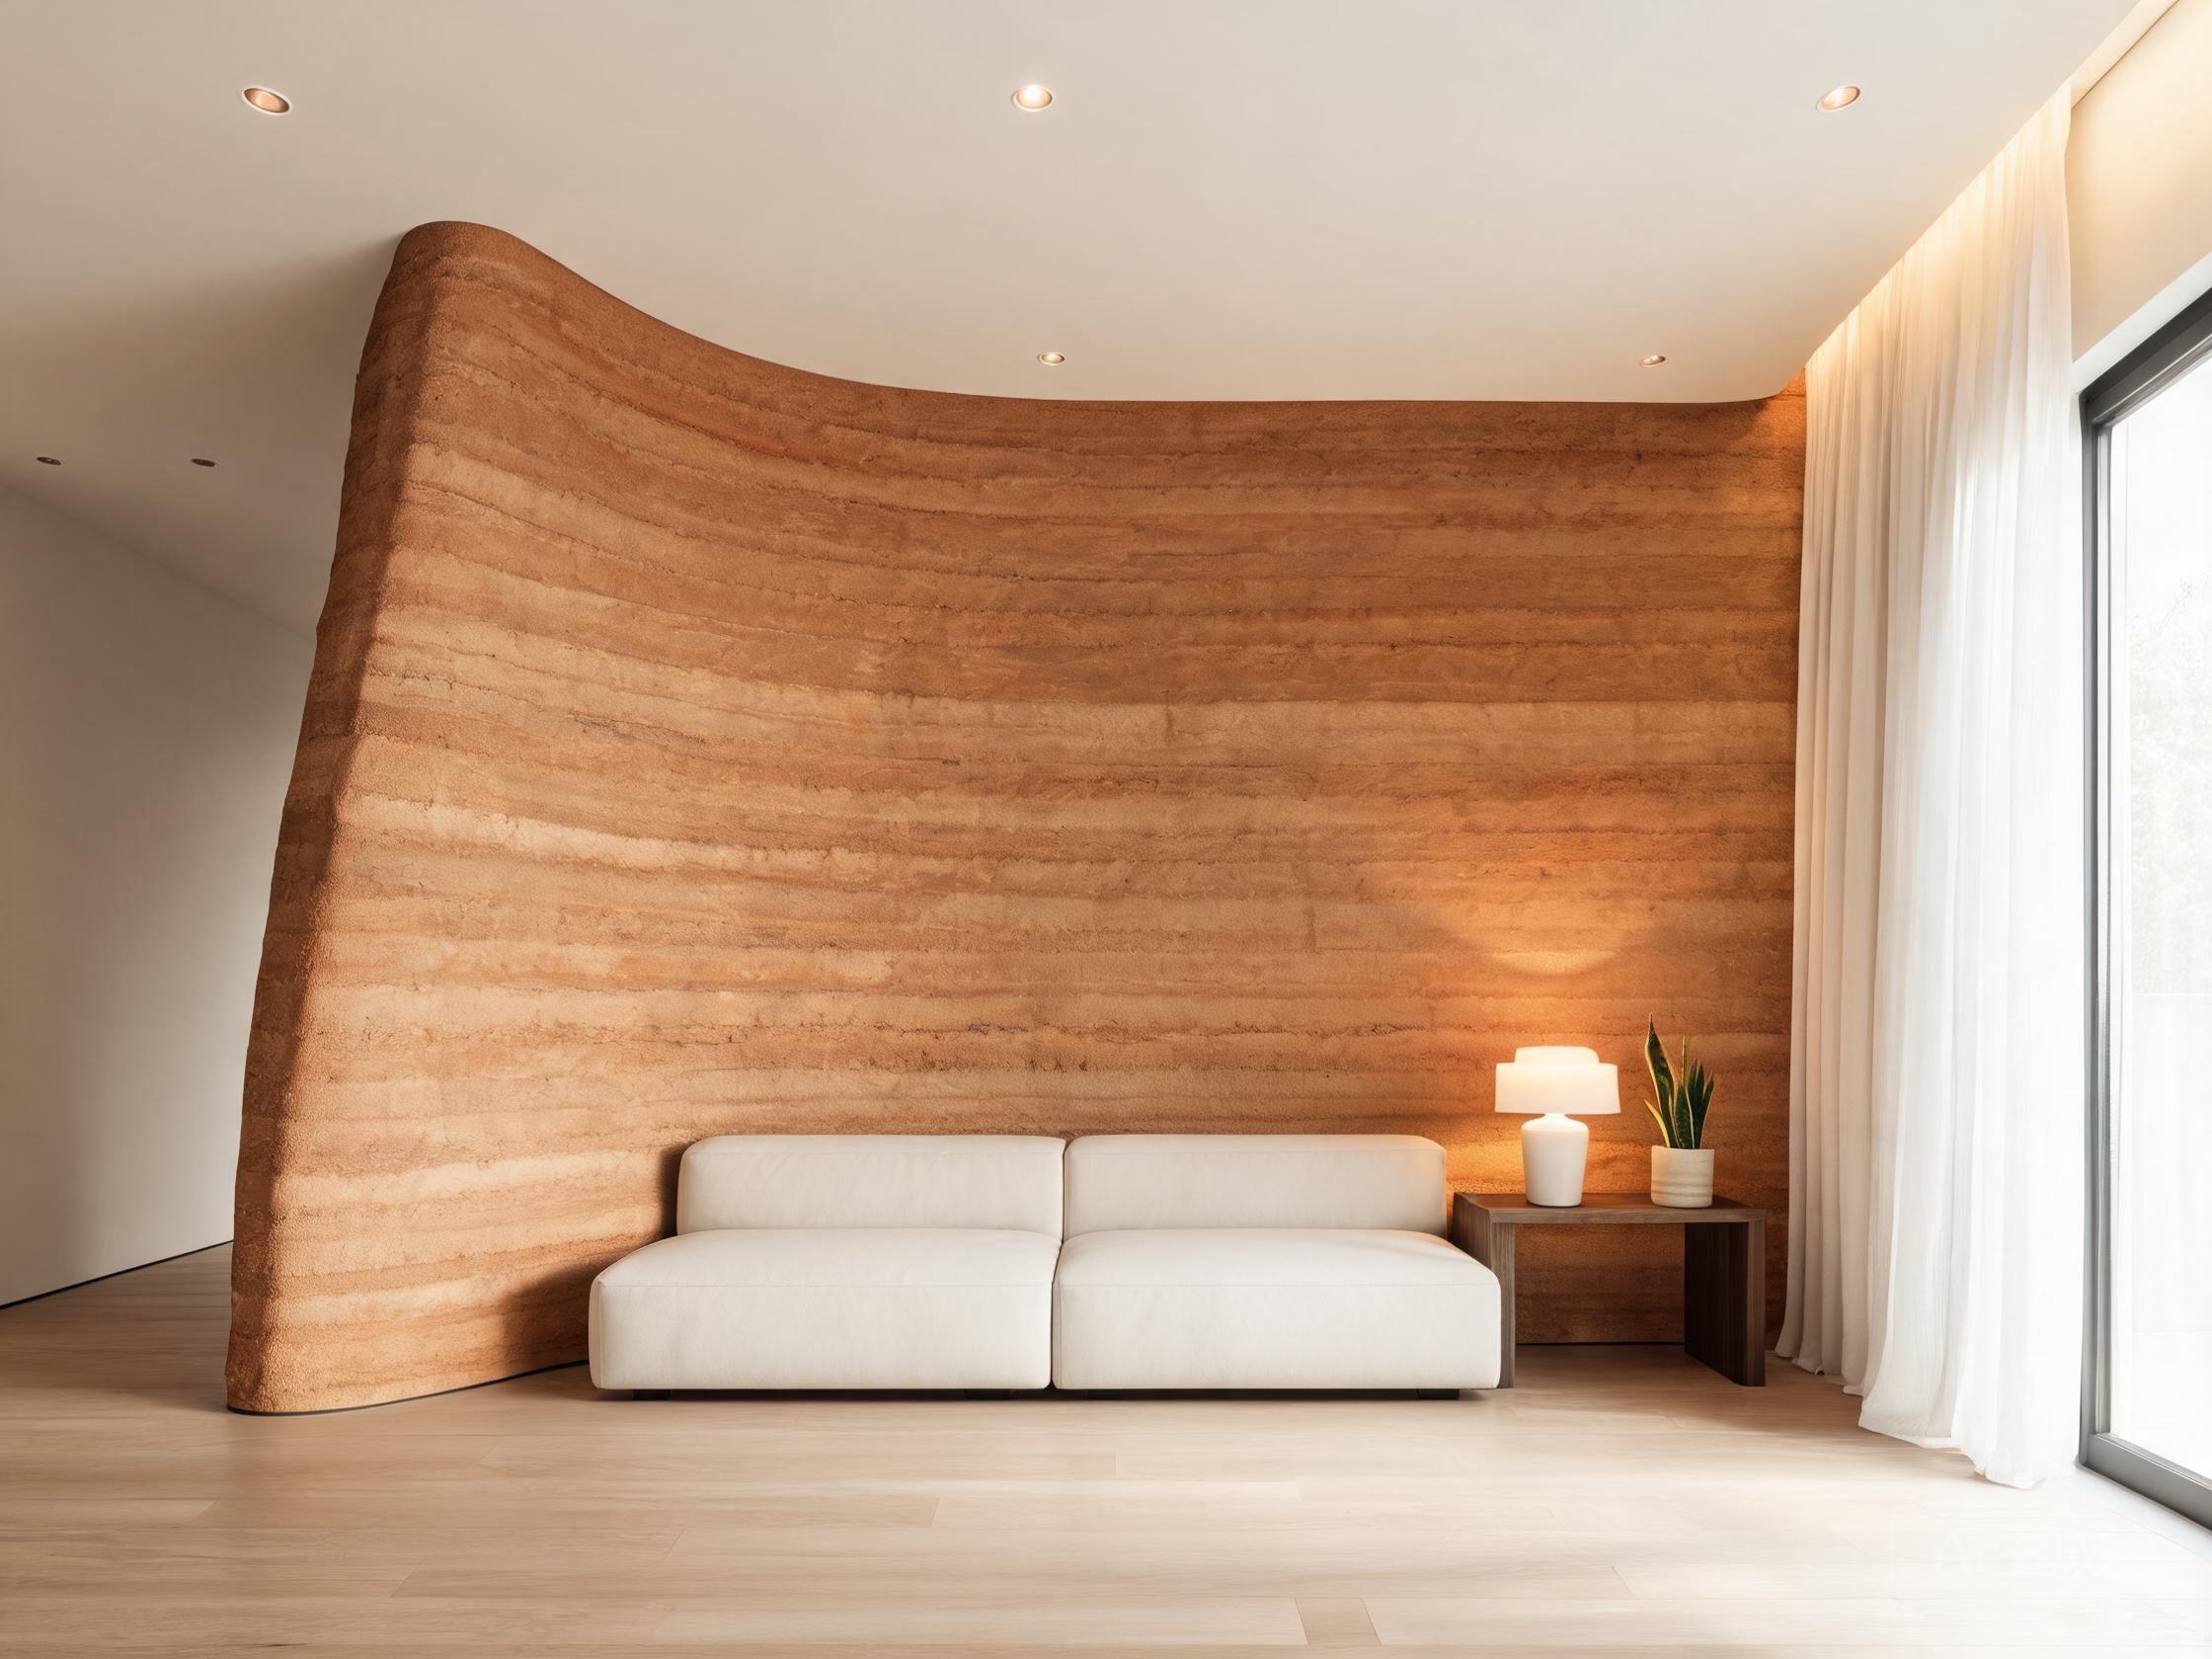
Flexible stone is a thin, bendable stone veneer that installs with the troweling method: prepare the substrate, apply flexible adhesive with full-surface trowel coverage, press and roll each panel, then grout and seal the joints. A two-person crew can clad a 25 m² room in a day because flexible stone is only 2-4 mm thick and weighs just 3.5-4 kg/m². This guide walks through the complete installation from tools to final sealant.
Key Facts
- ◆Flexible stone installs with the troweling method: full-surface adhesive, press, roll, grout, seal.
- ◆A two-person crew can clad a 25 m² room in a day with flexible stone.
- ◆Flexible stone is only 2-4 mm thick and weighs 3.5-4 kg/m², so no substrate reinforcement is needed.
- ◆Use a flexible, freeze-thaw rated adhesive and leave 1.5-3 mm expansion gaps between panels.
Tools and Materials You Need
- Cutting machine or utility knife for trimming panels
- Flexible stone adhesive (paste lotion and special tile glue)
- Notched trowel for full-surface adhesive coverage
- Roller or leather roller to seat panels and remove air
- Tile grout and flexible joint sealant
- Painter tape for masking edges
- Level, moisture meter, and a clean cloth
Step 1: Prepare the Substrate
The wall must be clean, dry and sound. Waterproof moisture-prone substrates, prime smooth surfaces, and clean cement or painted walls. Check the substrate with a moisture meter before you begin - installing over a damp wall guarantees a weak bond.
Step 2: Plan the Layout
Lay out the panels and mark reference lines before applying adhesive. Plan the joints so they fall in consistent positions, and account for 1.5-3 mm expansion gaps between panels.
Step 3: Apply the Adhesive
Apply a flexible, freeze-thaw rated adhesive with a notched trowel using full, uniform coverage. Never spot-bond or dot-and-dab - full-surface coverage is what prevents hollow spots and delamination.
Step 4: Press and Roll Each Panel
Press each panel onto the wall with consistent, even pressure across the full surface. Then roll the panel with a roller to seat the adhesive and push out trapped air. On curved surfaces, use a leather roller to follow the contour.
Step 5: Grout and Seal the Joints
Fill the joints with tile grout, then seal every edge and joint with a flexible joint sealant. Leave the expansion gaps filled with sealant so the panels can move with temperature changes without cracking.
Step 6: Clean and Cure
Clean off excess adhesive and grout before it cures. Allow the installation to cure 24-72 hours before heavy use or wet exposure, then apply a protective coating to seal the surface.
How Long Does Installation Take?
Because flexible stone is thin and lightweight, installation is fast. A two-person crew can complete a 25 m² room in a single day, compared with 8-10 m² per day for natural stone. The thin profile makes full-contact bonding practical and the light weight means no structural reinforcement.
Browse Flexible Stone Series
Explore 34 flexible stone series with 156 products at NexaDBS.
View Flexible Stone Collection